There are several reasons why someone might want to format a Mac, including performance issues, slowness of the machine, crashes, resetting a MacBook to sell or donate the PC, or even viruses that have infected the device. As much as formatting may seem like a complicated process, there are simple ways to do it.
We'll teach you in a simple way all the necessary steps, from making a backup of your data to reinstalling macOS, ensuring that your Mac is ready to be used again or handed over to a new owner! Let's go!
Before formatting your Mac
Make the backup
Before you think about formatting your Mac, the first step we recommend is that you back up your files so that none of your data or documents are lost in the process. Backups can be done either manually, by copying the desired folders and documents, or using iCloud, which is a cloud service. Apple itself has a native feature called Time Machine, which copies all data so that it can be transferred to an external drive.
To use this native feature, simply follow the steps below:
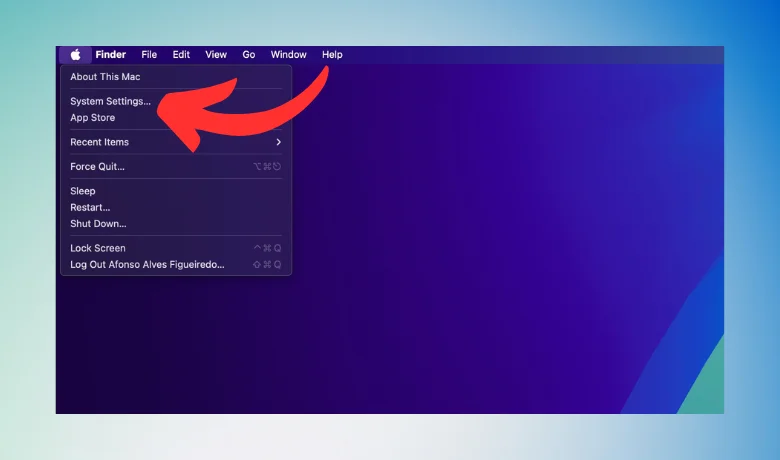
- Open the Apple menu;
- Select the “System Preference” option;
- Click on “Time Machine”;
- Choose the “Select Backup Disk” option and follow the instructions.
Sign out of iCloud

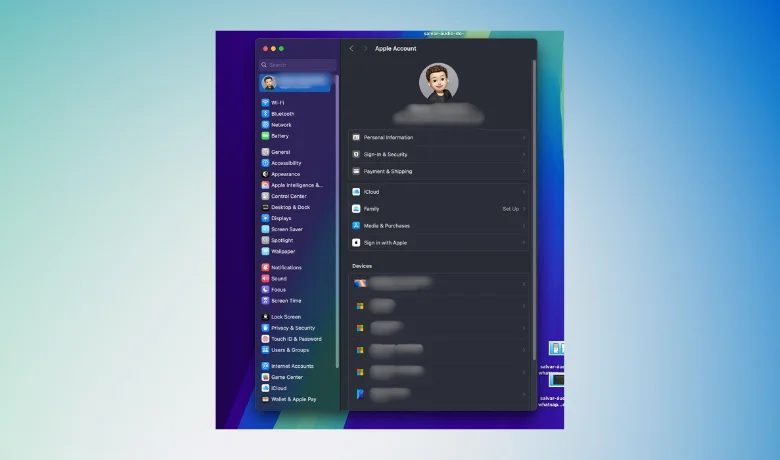
To ensure that no personal information remains on your device after formatting your Mac, we also recommend that you log out of iCloud. To do this, follow these steps:
- Access the “System Preferences” option;
- Select “Apple ID”;
- Go to “Overview”;
- End the session.
Find out what processor your Mac has

To finalize the steps before formatting a Mac, you will need to know what is the processor that your device uses.
Formatting the Mac

After completing the preparatory steps to format a Mac, you will need to turn off your computer and identify the processor to know how to proceed with the formatting. Make sure you have a Wi-Fi network enabled and turn on your Mac. There is a specific order for each formatting option, which are:
- Current macOS: Select ⌘ Command (the icon that represents the Command key on a Mac keyboard), then +R.
- Factory macOS: select ⌘ Command +⇧ Shift + ⌥ Option + R;
- A new version for Mac: ⌘ Command + ⌥ Option + R;
However, the standard way to format a Mac is usually to go to the device's restore window, click on the “Disk Utility” option and then on “Continue”. Look on the screen for the option in which macOS is installed and select “Erase” and, after cleaning, close “Disk Utility”.
Now is the time to click on “Reinstall macOS Big Sur” and follow the instructions that will be available on the screen, installing the entire operating system from scratch.
Conclusion

As you can see, formatting a Mac is not a difficult or challenging task. Just know the necessary information and you will soon be able to restore your Macbook to factory settings, without having to spend money or take the machine to a technician. But be careful not to skip any of the steps, so as not to lose data and information that is important to you.
And if you are interested in articles like this, focused on the technological world, be sure to also read our posts about how to transfer data from one cell phone to another e How to view PC settings: step by step!


